REVIEW · CUSCO
Zipline in the Sacred Valley of the Incas from Cusco
Book on Viator →Operated by ATV CUSCO ADVENTURES ON WHEELS · Bookable on Viator
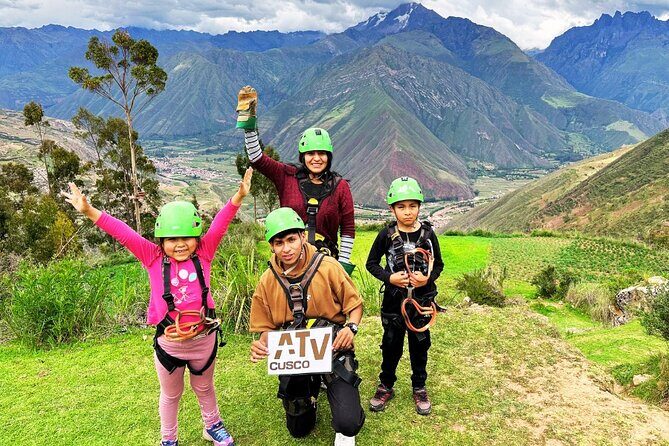
Four zip lines, four chances to fly. This Cusco Sacred Valley outing sends you out toward Racchi and the Pj’acchayoc canyon, with sightlines toward Chinchero and peaks like Chicón and Pitusiray. I love how the route is built for your confidence, starting with a very gentle first run before it gets fast.
The second thing I really like is how calm and clear the instruction feels. When I rode, the guide named Samuel explained the process in two languages, and stayed close enough that even small questions (like where to go for the bathroom) didn’t turn into a hassle. The main drawback to plan around is that this experience depends on good weather, so clouds or rain can change your date.
In This Review
- Key things I’d note before you book
- Cusco to Racchi: how the Sacred Valley day actually starts
- What you’ll see: Chinchero plateau, Pj’acchayoc canyon, and those big peaks
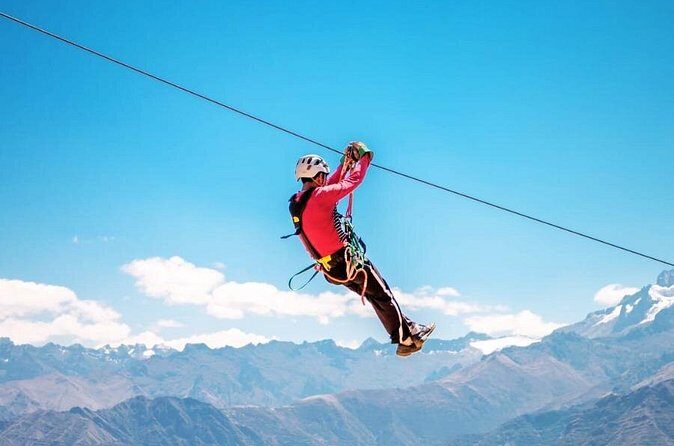
- The zipline itself: four cables, each with a different job
- Cable 1: 450 meters to build confidence
- Cable 2: 430 meters for maximum speed
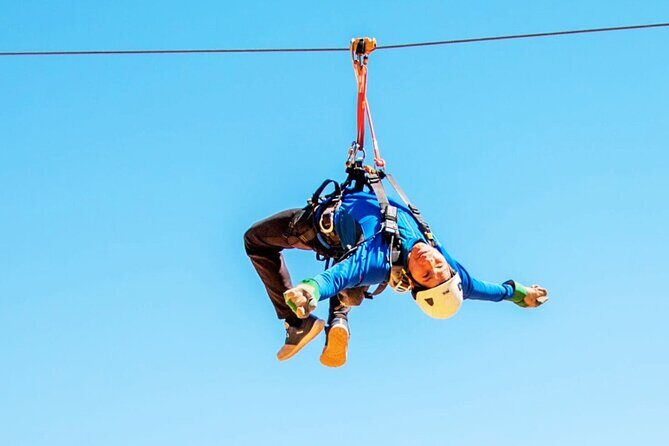
- Cable 3: 450 meters with room for dramatic positions
- Cable 4: 600 meters with the best views and a 40m suspension bridge
- Harness, helmet, gloves, and the instructor setup
- The route pacing: group size, comfort stops, and a 4-hour reality check
- Price and value: is $50 per person a fair deal?
- Who this Sacred Valley zipline suits best
- What to do before you go: small prep that prevents big stress
- Practical logistics that matter in Cusco
- Should you book this Cusco Sacred Valley zipline?
- FAQ
- How long does the zipline tour take?
- Where do we meet in Cusco?
- How far is the zipline location from Cusco?
- What gear is included?
- How many zipline cables are there, and how long are they?
- What language is the tour offered in?
- Is free cancellation available?
Key things I’d note before you book
- Four cable options in one session: 450m, 430m, 450m, then 600m
- A confidence-first start on the shortest, softest cable
- True speed on the second line, described as the fastest run
- Positions encouraged on the third cable, including Superman/Superwoman-style moves
- The longest finale includes a 40m suspension bridge
- Small group size (up to 10) keeps the pacing manageable
Cusco to Racchi: how the Sacred Valley day actually starts
This tour is set up as a smooth half-day adventure. You’ll meet in Cusco, then ride out about 35 km toward the town area known as Racchi. The drive is about 50 minutes one way, which matters because you’re not spending hours on the road before you even get clipped into a harness.
Pickup is offered in two convenient ways: either at Plaza Regocijo or from hotels near the Plaza de Armas. If you’re choosing pickup, you’ll want to have your accommodation details ready so the team can match you to the right van. You’ll also get a mobile ticket, and you should receive confirmation at the time of booking.
The big thing here is that the Cusco zipline experience isn’t just about speed. It’s timed so you arrive, get geared up, and still have energy to enjoy the canyon and mountain views while you’re there.
You can also read our reviews of more tours and experiences in Cusco.
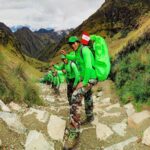
What you’ll see: Chinchero plateau, Pj’acchayoc canyon, and those big peaks
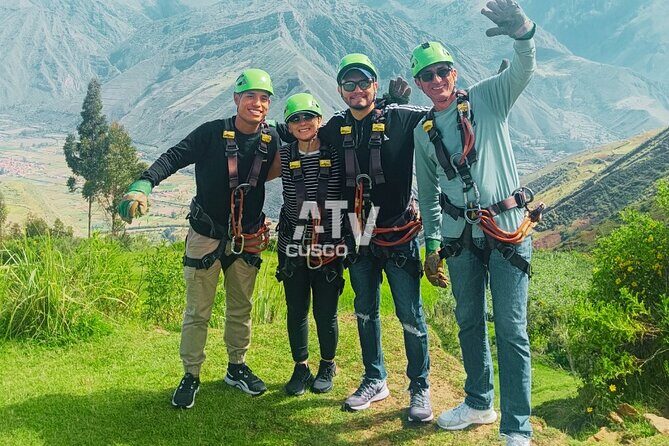
From the Racchi area, you get a visual sweep that makes the effort feel worth it. You’re set up to enjoy views of the Chinchero plateau and the Pj’acchayoc canyon, plus mountain backdrops including Chicón and Pitusiray. That combination is one reason people like doing zip lines in the Sacred Valley instead of a flat, generic adventure park setting.
You’re also in an area associated with living community life around Racchi. You won’t be watching a staged show the whole time. Instead, you’re in the real setting where locals live and work, and you’ll notice that the day feels more like a regional outing than a sealed-off attraction.
The zipline itself: four cables, each with a different job
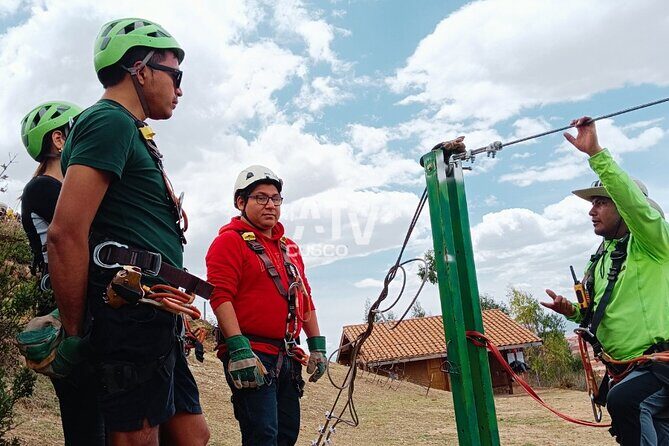
This is the heart of the experience. You’ll move through four different cables, and the lengths are part of the design—not just random numbers.
Here’s how the run is set up, cable by cable:
Cable 1: 450 meters to build confidence
The first line is 450 meters and described as very soft. In practical terms, that means it’s your warm-up for the sensation of flying. If you feel nervous at first (totally normal), this is the cable that lets you get your bearings fast: harness on, helmet on, hands positioned, and your body learning how it feels while gliding.
Cable 2: 430 meters for maximum speed
Next is a 430-meter cable billed as the fastest. This is the one you’ll feel right away. Your sense of motion shifts from learning the ropes to actually enjoying the rush. If you like adrenaline, this is the point where you’ll stop thinking so much about what-ifs and start trusting the system.




Cable 3: 450 meters with room for dramatic positions
The third cable is another 450 meters, and it’s described as the best for extreme movements or poses like Superman or Superwoman. That detail matters because it signals the team isn’t just sending you down on autopilot. You’ll get guidance on how to move safely so you can enjoy the fun aspect of zip lining, not only the fear-and-falling part.
Cable 4: 600 meters with the best views and a 40m suspension bridge
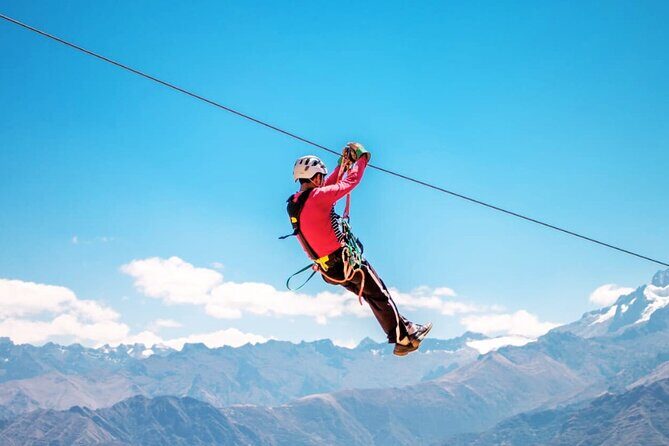
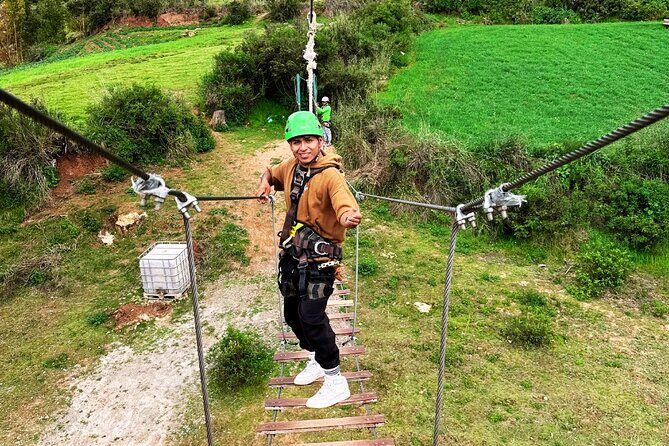
The finale is the 600-meter line—the longest run—and it’s where the views are meant to be the payoff. On top of the long glide over the canyon, you’ll also cross a 40-meter suspension bridge. That extra segment changes the feel of the day: you get a slower, more panoramic moment before the last glide, and then you finish with a real sense of accomplishment.
If you’re going as a group, this structure also helps people with different comfort levels. You’re not forced to go straight to the most intense line first.
Harness, helmet, gloves, and the instructor setup
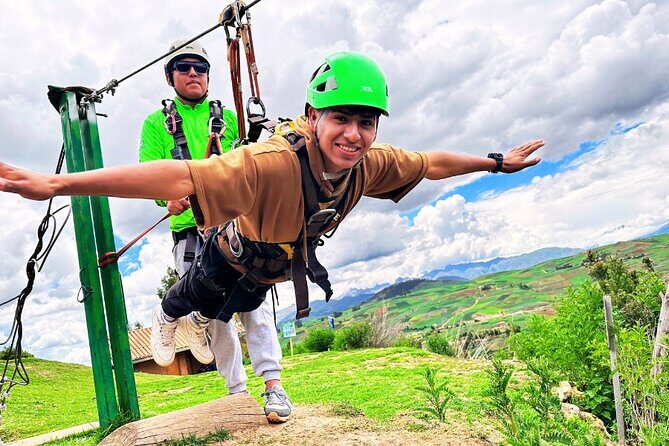
You don’t just show up and hope for the best. The tour includes the gear: harness, helmet, and gloves, plus a professional instructor and a first aid kit on site.
That package is important for two reasons:
- It lowers the friction. You don’t need to rent anything extra.
- It means everyone rides with the same basic safety equipment and fit standards.
The instructor part is where the experience really becomes calm. In my case, Samuel explained the process in two languages and stayed patient. When you’re feeling nervous, clear instructions are more valuable than hype. You’ll likely get a briefing on how to position yourself on the lines and what to expect during the glide, then proceed step by step.
The route pacing: group size, comfort stops, and a 4-hour reality check
This is built for groups but capped at a maximum of 10 travelers. That small size helps the day feel organized instead of chaotic. You’re not watching a long line of people go one by one while you wait in the wrong kind of anxiety.
The entire experience runs about 4 hours. That timeframe includes pickup, travel out, the zipline session, and the return to Cusco. With that in mind, plan to treat it as a true activity window, not something you can tack onto an already packed schedule without thinking.
A small detail I appreciated: the team accompanied you at the right times and helped with practical needs on site. It’s the kind of attention that keeps nervous people from spiraling, because you’re not left to figure things out alone.
Price and value: is $50 per person a fair deal?
At $50 per person for about 4 hours, this tour can feel like solid value because you’re getting more than the zipline itself. Included is air-conditioned vehicle transport from Cusco, the harness/helmet/gloves, a professional instructor, and a first aid kit.
You’re not paying extra for the basics, and the included transportation is a big part of the cost in Peru adventure days. You also know the English-speaking component is part of the offering, which helps if you want instructions you can actually follow.
Not included are travel insurance and feeding. So if you’re doing other activities that day, budget for snacks or water separately.
Who this Sacred Valley zipline suits best
This tour works best if you’re comfortable with moderate physical fitness. That doesn’t mean you need to be an athlete, but you should be able to manage moving around while wearing equipment and handle the basic physical demands of the activity.
It also fits well for:
- Groups that want a shared adventure without a huge crowd
- People who want a mix of views and thrills
- Travelers who appreciate calm, clear instruction (especially if you’re a little nervous)
If you’re strongly afraid of heights, you may want to think carefully. Zip lining involves exposure to open air and height sensations, and the tour doesn’t mention any alternate routes or toned-down options besides the gentler first cable.
What to do before you go: small prep that prevents big stress
Even when everything is included, your comfort determines how much fun you have. Since the tour includes gloves, harness, and helmet, you’ll mainly want to focus on wearing the right clothing and being ready for the weather.
Here are practical tips based on how the experience runs:
- Wear closed-toe shoes you can stand/walk in comfortably.
- Dress in layers. The Andes can change feel as you travel away from the city and out into the open air.
- If you’re worried about getting through the session smoothly, arrive ready to follow the instructor’s guidance right away.
Also remember: it requires good weather. If conditions aren’t right, your date may change or you may get a full refund.
Practical logistics that matter in Cusco
Meeting point matters here. Your start is Plaza Regocijo (listed at F2M9+5X2, Cusco 08002). The end is back at the same meeting point, which makes it easier to plan the rest of your day since you’re not dropped somewhere random.
English is offered, and the tour provides pickup details through communication after booking. If you want pickup from your hotel, send the exact address and a contact number so you don’t spend the morning hunting the van.
Finally, keep group size in mind. With a max of 10 travelers, the schedule should feel tight and well managed, but it still helps to be on time for pickup.
Should you book this Cusco Sacred Valley zipline?
I’d book it if you want a well-run zipline day that includes transport, safety gear, and instruction—while also giving you real mountain-and-canyon views. The four-cable structure is a smart way to handle nerves: a gentle first run, a speed-focused second cable, a playful third line, and a finale with the longest ride plus a 40-meter suspension bridge.
Skip it or think twice if you’re expecting a weather-proof plan no matter what. This one depends on conditions, and moderate fitness is required.
If your goal is a memorable Sacred Valley adrenaline experience without the hassle of complicated logistics, this is a strong choice.
FAQ
How long does the zipline tour take?
The tour runs about 4 hours.
Where do we meet in Cusco?
You’ll start at Plaza Regocijo (F2M9+5X2, Cusco 08002, Peru), and the activity ends back at the same meeting point.
How far is the zipline location from Cusco?
It’s about 35 km from Cusco, with an estimated transportation time of around 50 minutes to the Racchi area.
What gear is included?
You’ll be provided with a harness, helmet, and gloves.
How many zipline cables are there, and how long are they?
There are 4 cables: 450 meters, 430 meters, 450 meters, and 600 meters. The longest one includes a 40-meter suspension bridge.
What language is the tour offered in?
The tour is offered in English.
Is free cancellation available?
Yes. You can cancel up to 24 hours in advance for a full refund, based on the experience’s local time.